
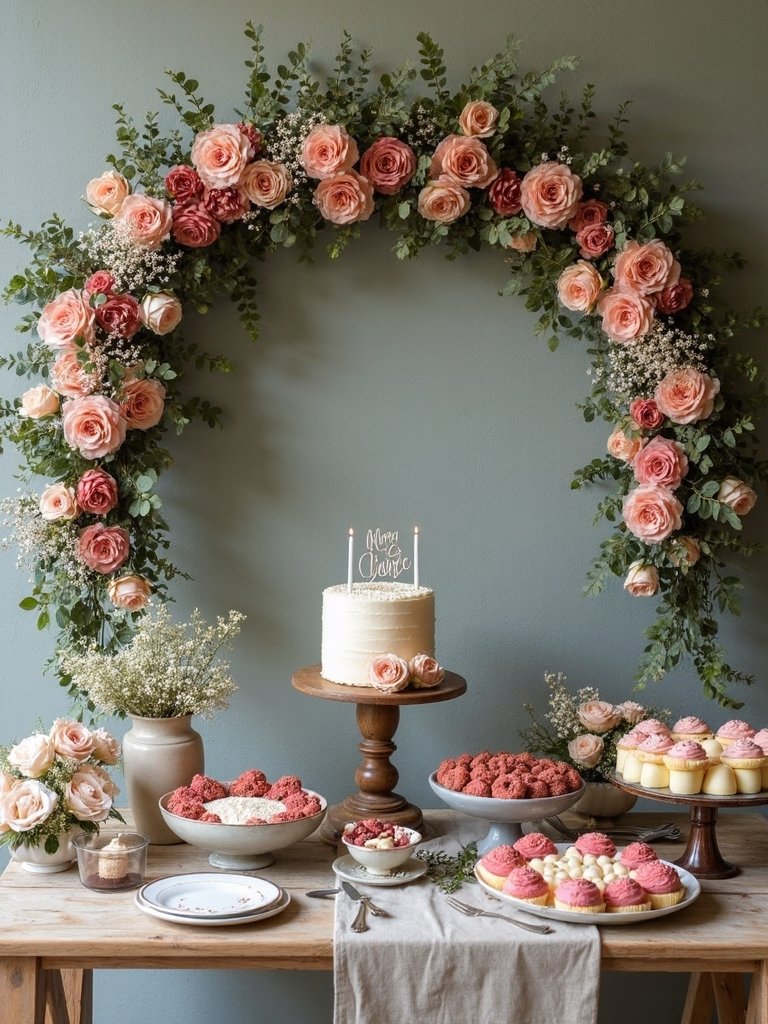
20 DIY Floral Arch Wedding Decor Ideas on a Budget
You’ll find that creating a stunning wedding arch doesn’t require a professional florist or an extravagant budget. With careful planning and the right materials, you can design a gorgeous floral arch that perfectly matches your wedding vision. From selecting sturdy base materials to incorporating affordable blooms, there’s a wealth of creative approaches to craft your dream ceremony backdrop. Let’s investigate twenty budget-friendly ideas that will revamp your wedding space into an enchanting garden paradise.
Essential Materials and Tools for Your DIY Wedding Arch

Every successful DIY wedding arch project starts with gathering the right materials and tools. You’ll need 8 Ling’s moment flower box sets and 10 greenery branch sets to create lush, natural-looking arrangements. For the structure, gather 2 arch pillars, wire mesh or chicken wire, and flower muds. These are everything you need to build a stunning focal point for your ceremony.
Before you start working with greenery and flowers, it’s crucial to know that you’ll use the flower muds as your foundation, securing them with wire mesh and zip ties. This creates a stable base that’ll hold your decorative elements perfectly in place.
Selecting the Perfect Base Structure

A solid base structure forms the backbone of your DIY floral wedding arch, determining both its stability and final appearance. Start with two sturdy arch pillars and cover them with wire mesh to create a foundation for flower muds.
Make sure you pile at least seven pieces of mud on each side, securing them with zip ties for a thick, tapered base. As you work up the arch, continue adding mud and mesh to achieve a natural, bumpy texture.
This structure will support different colors of greenery and flowers, which you’ll angle between 30-45 degrees for a professional-looking DIY wedding arch.
Budget-Friendly Flower Options and Alternatives

With your base structure ready, selecting budget-friendly flowers doesn’t mean compromising on beauty. Ling’s moment flower box sets offer an affordable solution that you can easily arrange with friends and family.
Start by securing wire mesh or chicken wire to create your foundation, then apply flower muds to shape your design.
Insert greenery at 30 to 45-degree angles to create natural-looking growth patterns, and mix different types of foliage for added depth. Build the base thicker than anywhere else to guarantee stability and achieve a refined, tapered appearance.
This practical approach saves money while creating a stunning floral wedding centerpiece.
Creating a Stable Foundation With Flower Foam
Properly secured flower foam creates the essential foundation for your floral arch’s stability and longevity. Start by soaking floral foam blocks in water until they’re completely saturated, which usually takes about 5 minutes.
Cut the foam into appropriate sizes to fit your arch’s structure, making sure to measure twice before cutting. Secure each foam piece using waterproof floral tape and zip ties. You might need additional support for heavier flower arrangements, so consider adding wire mesh around the foam.
Place the foam blocks strategically along your arch frame, ensuring even distribution and proper support for the flowers you’ll be adding later.
Strategic Placement of Greenery and Foliage
Strategic placement of greenery forms the backbone of your floral arch design, creating a natural and flowing foundation for the flowers to come. Begin layering techniques by inserting leaves at 30 to 45-degree angles, starting from the bottom and working upward.
For visual balance, use multiple types of greenery, making the bottom fuller to add depth. Guarantee color coordination by distributing leaves evenly throughout the flower mud, angling them in different directions for fluid movement.
Position your foliage strategically to complement the arch’s structure, focusing on creating a lush appearance that’ll support your upcoming flower arrangements.
Mixing Artificial and Fresh Flowers for Cost Savings

A smart combination of artificial and fresh flowers can dramatically reduce your wedding arch costs while maintaining a sophisticated, natural appearance. Begin with a quality artificial flower selection like Ling’s Moment to create your base structure, then integrate fresh blooms strategically throughout the arch.
This cost-effective design approach allows you to achieve a luxurious look without breaking your budget. You’ll find that placing real flowers and greenery among the artificial arrangements creates a cohesive, natural appearance that your guests won’t be able to distinguish from a fully fresh display.
Color Schemes That Won’t Break the Bank

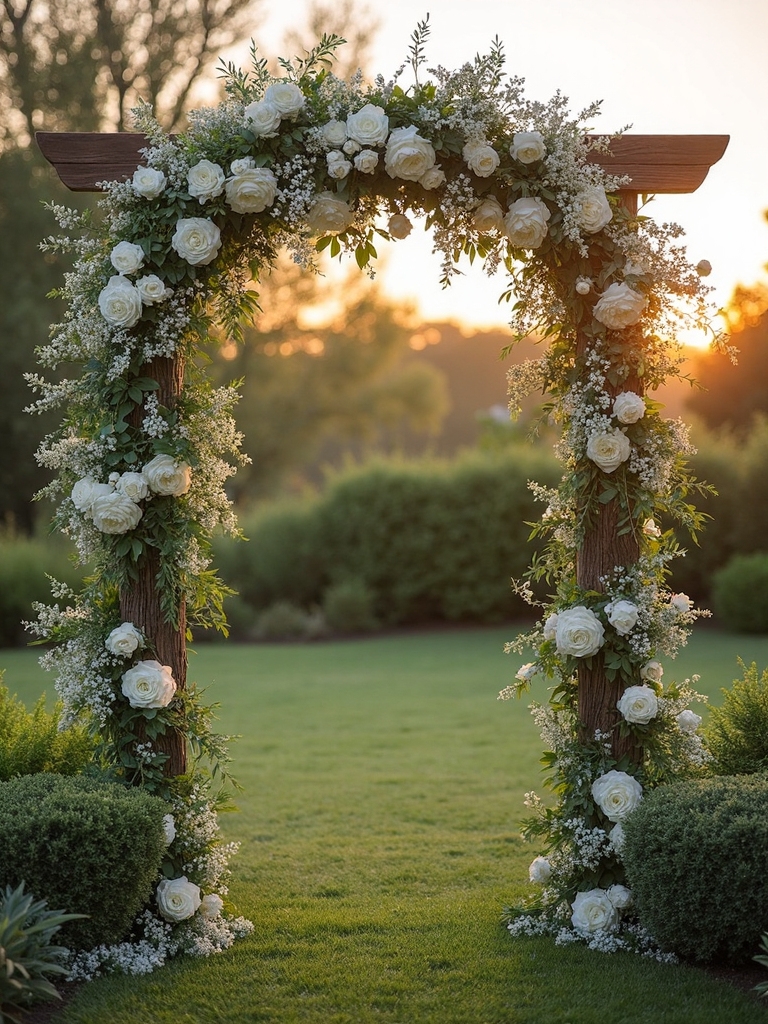
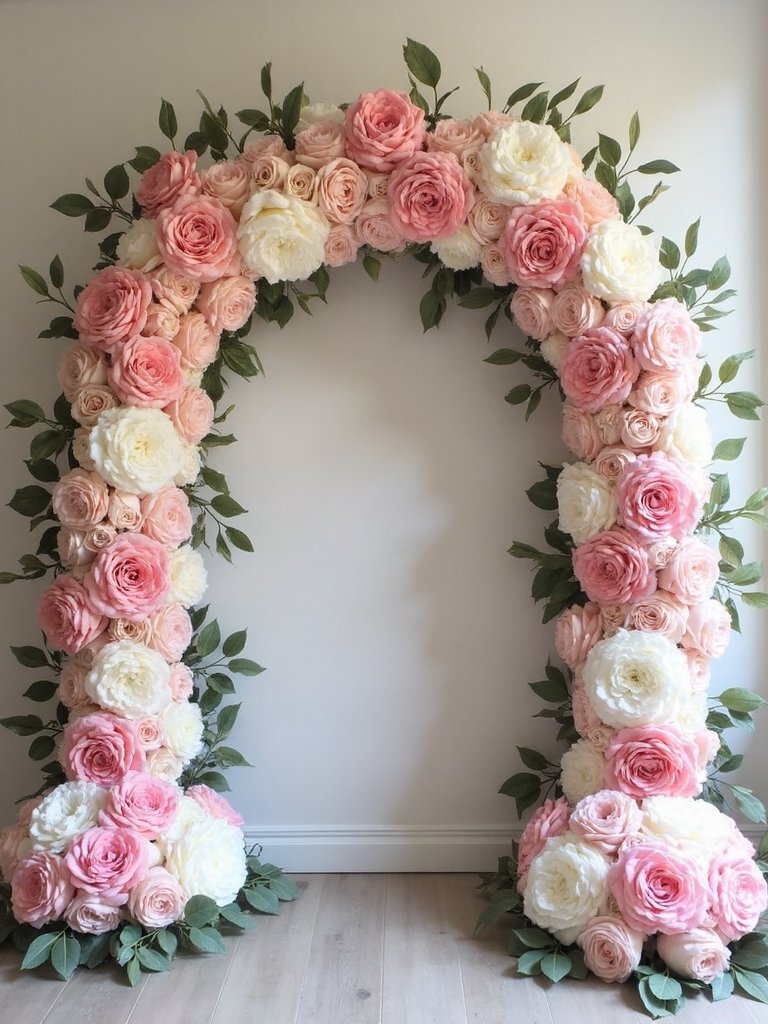
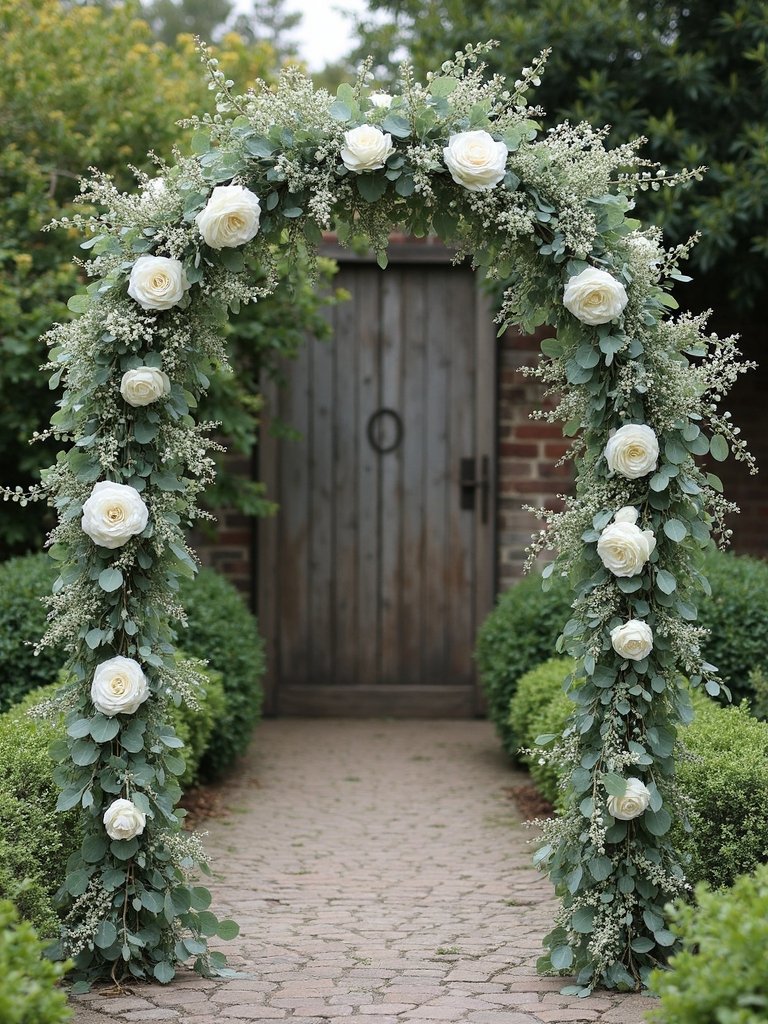
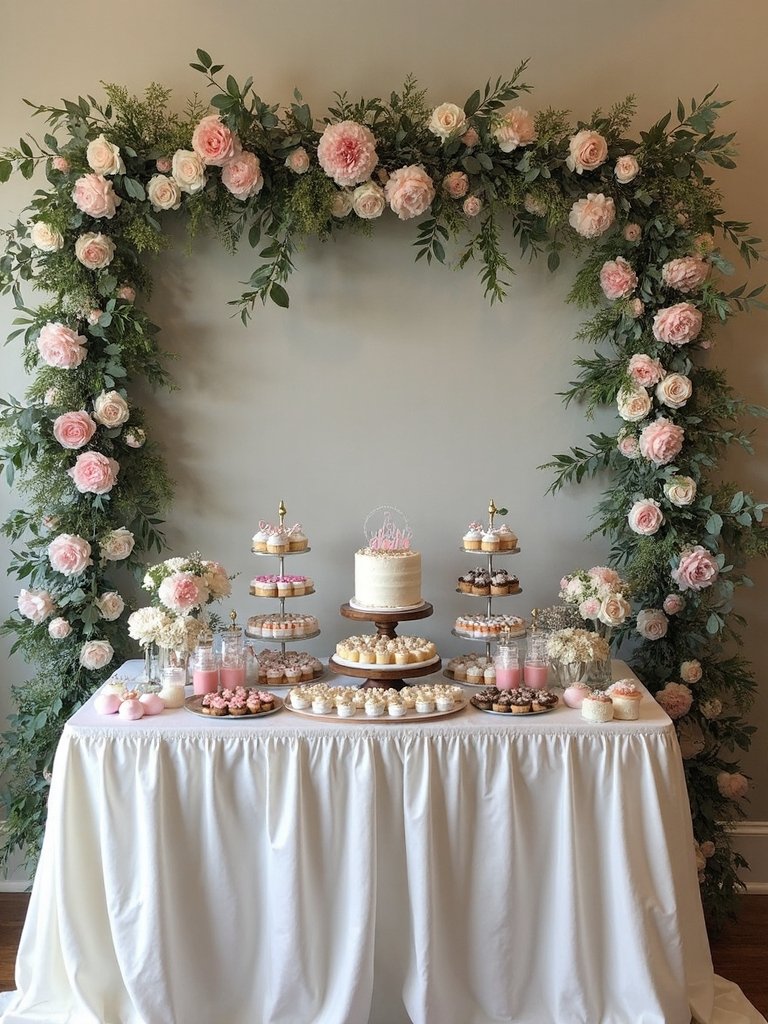
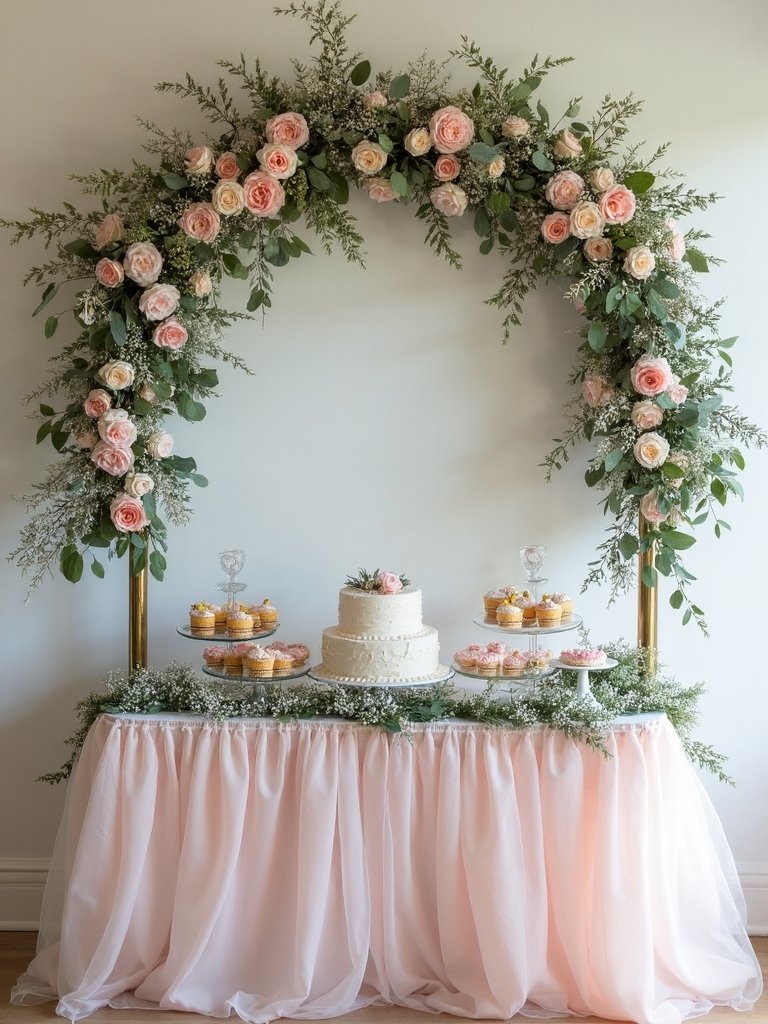
Creating stunning color schemes for your wedding arch doesn’t require an excessive budget when you focus on naturally complementary combinations. Choose classic white blooms paired with lush greenery for timeless elegance, or opt for soft pastel tones that create gentle color balance throughout your display.
You’ll find that earthy hues like sage, cream, and dusty rose work beautifully together while keeping costs down. Add neutral accents using budget-friendly materials like baby’s breath or eucalyptus to enhance your chosen complementary hues. Consider incorporating dried flowers in muted tones, which offer both affordability and lasting beauty for your special day.
Seasonal Flower Choices for Maximum Impact
When planning your floral arch, selecting blooms based on their natural growing seasons will help you achieve stunning results while keeping costs manageable. Start by choosing cost-effective blooms that naturally thrive during your wedding season: peonies and lilacs for spring, sunflowers and hydrangeas for summer, dahlias and chrysanthemums for fall, or white roses and eucalyptus for winter.
Work with a local florist to maximize seasonal variety while coordinating color palettes that complement your wedding theme. By mixing different seasonal flowers and foliage, you’ll create depth and visual interest in your arch design without overspending on out-of-season blooms.
DIY Flower Preservation Techniques
Preserving the flowers from your wedding arch lets you cherish these meaningful blooms long after your special day. You’ll find several preservation methods that work well for arch flowers, each offering unique benefits.
Air-drying works best for sturdy blooms like roses and hydrangeas – simply hang them upside down in a dark, dry space. For delicate flowers, try gel based drying with silica gel, which maintains their shape and color beautifully.
Freeze-drying provides professional-quality results but requires special equipment, while pressing flowers creates lovely flat keepsakes perfect for framing. Consider using glycerin for flexible, long-lasting preserved flowers that won’t become brittle.
Creative Ways to Secure Florals and Greenery

A solid foundation makes all the difference when securing florals and greenery to your wedding arch. Start by creating wire configuration patterns using mesh or chicken wire as your base structure. You’ll want to attach flower muds in a tapered formation, working from bottom to top for ideal stability.
When implementing floral attachment methods, secure your flower muds with wire and zip ties. Apply greenery layering techniques by inserting leaves at 30-45 degree angles into the muds, creating natural growth patterns. Mix different types of greenery as you work upward to build depth and dimension throughout your arch design.
Weather-Proofing Your Wedding Arch
Creating a weather-resistant floral arch starts with selecting durable materials that can withstand outdoor elements. Choose silk or polyester flowers and artificial greenery for weather resistant arch attachments that won’t wilt or fade. Protect your moisture proof arch base by adding a waterproof lining before securing flowers and foliage.
Ensure a wind sturdy arch structure by anchoring it firmly with heavy-duty stakes or sandbags. Consider adding a clear acrylic panel to shield decorations from sun and rain. Always have a backup plan, such as a tent or indoor space, ready for unexpected weather changes that could affect your outdoor display.
Time-Saving Assembly Tips and Tricks

Once your weather-resistant arch structure is secure, efficient assembly techniques will help you create a stunning floral display without spending excessive time.
Start streamlining assembly process by preparing flower muds ahead of time, allowing you to focus solely on arrangement during setup. Create a solid foundation using wire mesh or chicken wire, which maximizes efficiency while ensuring proper support.
When minimizing prep time, work from bottom to top, inserting greenery at 30-45 degree angles for a natural appearance. Mix different types of foliage to add depth and visual interest. This strategic approach lets you build layers systematically, maintaining consistency throughout the arch while reducing unnecessary adjustments.
Repurposing Wedding Arch Materials

Rather than discarding materials after your special day, convert your wedding arch components into lasting decorative pieces for your home and garden. The reusable arch components, including wire mesh and flower muds, can metamorphose into garden trellises or decorative outdoor structures.
You’ll find sustainable sourcing options by repurposing leftover greenery branches into potted arrangements or wreaths for your home. The customizable arch structures also work well as frames for climbing plants in your garden. Consider separating the materials to create multiple smaller pieces, maximizing the value of your wedding investment while reducing waste.
Adding Personal Touches to Your Arch Design
Personal elements redefine a basic wedding arch into a meaningful centerpiece that conveys your unique love story. Consider incorporating meaningful family heirlooms, such as vintage brooches or lockets, into your floral arrangements.
Choose flowers with symbolic floral meanings that represent your relationship, and arrange them to display your initials or wedding date.
Draw personalized design inspirations from your [passage] together by adding photos, handwritten signs, or cherished mementos along the arch structure. Enhance the design with DIY touches like hanging crystals, ribbons, or natural elements such as herbs and fruits that hold special significance in your relationship.
Lighting Elements for Enhanced Ambiance
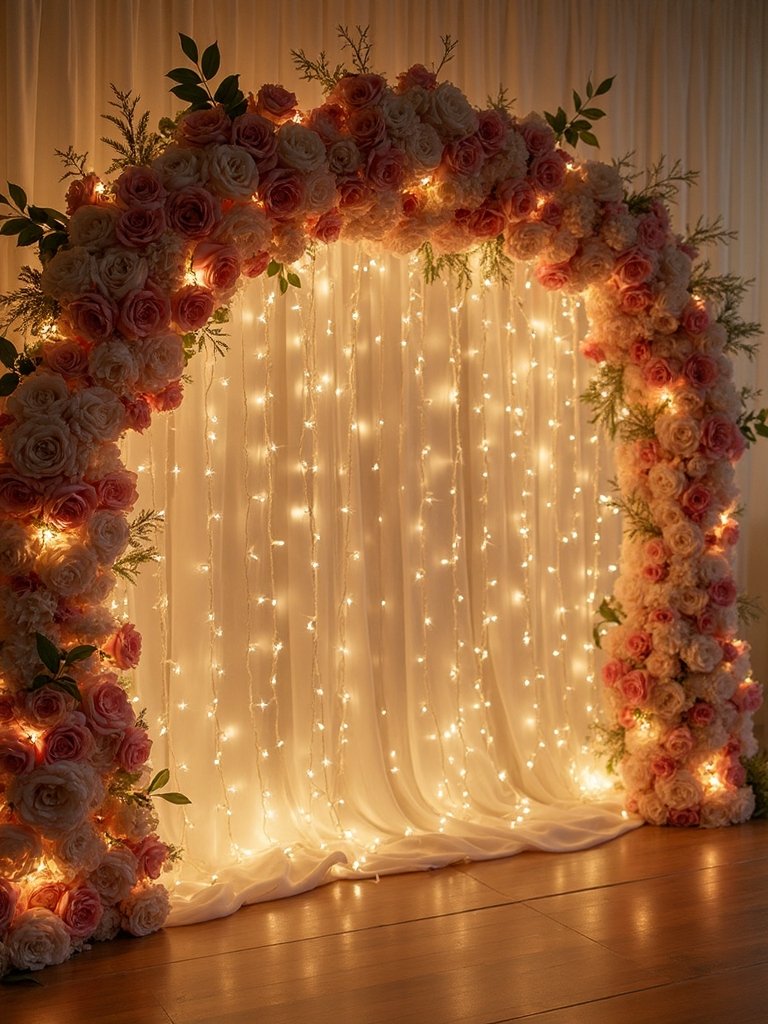
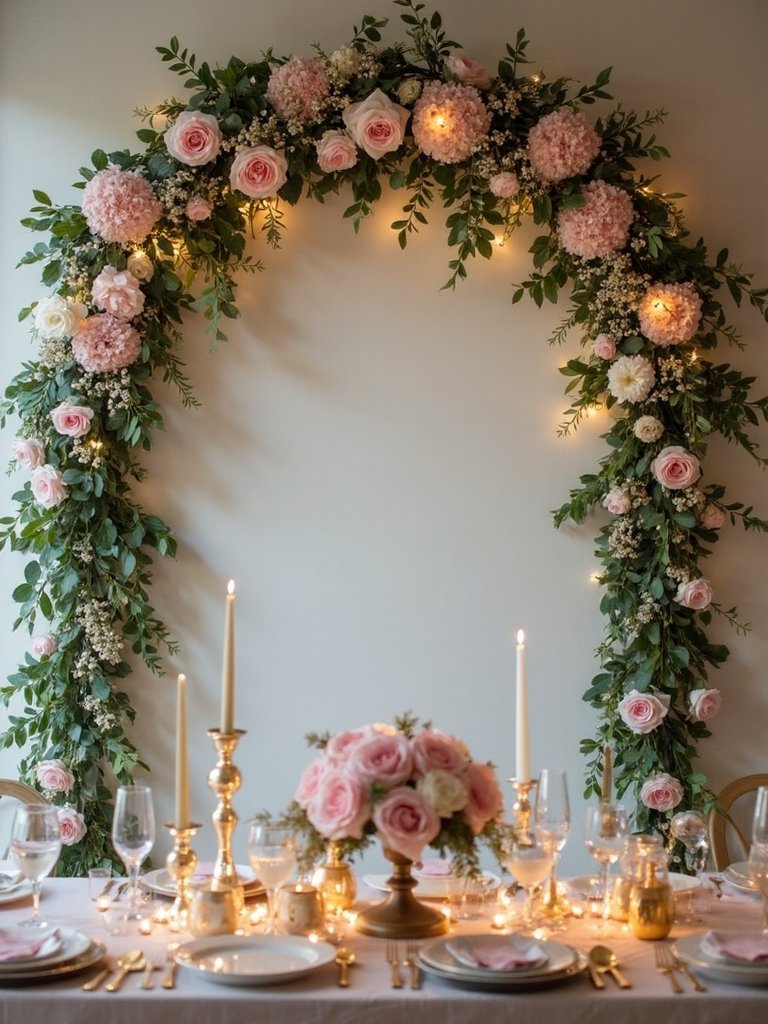
Beyond the decorative elements, thoughtful lighting can alter your floral arch into an enthralling centerpiece that glows with romance and warmth. Start with a string light configuration, weaving delicate fairy lights through the flowers and foliage to create a magical sparkle.
Add battery-powered illumination using tea lights nestled among the blooms, providing a soft flickering effect. Consider lantern style lighting by hanging refined fixtures from the arch’s frame, drawing attention upward.
For added drama, position uplights behind the arch to highlight your floral work, and line the base with solar garden lights for a enchanting evening display.
Transport and Setup Best Practices
Careful planning and organization are essential for transporting and setting up your DIY floral arch without damaging the delicate components. Create a detailed setup timeline that aligns with your venue access considerations, and verify you’ve confirmed delivery logistics well in advance. You’ll need to disassemble larger pieces for transport, clearly labeling each section for quick reassembly.
Pack your flowers and delicate materials in water-filled buckets, securing them with bubble wrap and towels. It’s best to transport the arch frame separately from the florals, then complete the final assembly on-site. Bring basic tools, extra supplies, and zip ties for unexpected fixes.
Common Mistakes to Avoid During Assembly

Success in assembling your floral arch depends on avoiding several critical mistakes that can compromise its stability and appearance. When creating your stable construction, don’t overload it with flower mud, as this can lead to structural failure.
You’ll need to guarantee proper floral placement by distributing flowers and greenery evenly across the arch. Pay attention to your weather resistant design by protecting the flower mud from excess moisture. Before finalizing your arch, test its stability thoroughly. Use sturdy wire mesh or chicken wire that can adequately support your chosen flowers and greenery.
Last-Minute Touch-Up Techniques
Once your arch’s main assembly is complete, you’ll want to focus on those final adjustments that make the difference between a good and great presentation. Keep emergency touch-up solutions handy, including floral tape, wire cutters, and spare flowers for quick replacements.
Apply time-saving application methods by working systematically from top to bottom, securing loose elements and adjusting flower positions. For last-minute application techniques, use a fine-mist spray bottle to refresh wilting blooms, and keep a small hot glue gun ready for emergency fixes. Check lighting angles and adjust foliage to eliminate unwanted shadows or gaps in the arrangement.
Photography-Ready Arch Positioning Tips
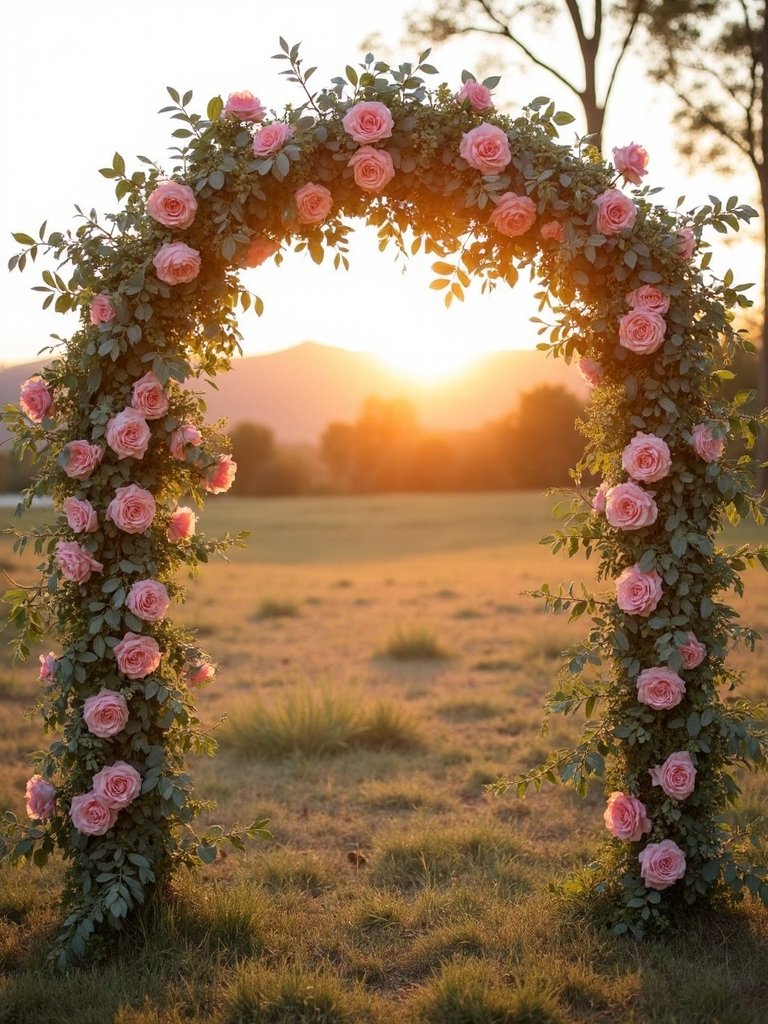
The perfect positioning of your floral arch can make or break your wedding photos. For ideal positioning, place your arch where natural light falls softly from the side or front, avoiding harsh shadows that can distract from the ceremony. Consider angle recommendations from your photographer, typically placing the arch at a 45-degree angle to capture both the arch’s details and the couple’s faces.
Test different spots during the same time of day as your ceremony, accounting for lighting considerations like the sun’s position. If you’re indoors, position the arch away from direct window glare and guarantee there’s enough space for photographers to move around freely.
Post-Wedding Arch Preservation Methods

After capturing those perfect wedding photos, preserving your floral arch can create lasting memories of your special day. You can carefully dismantle the arch and dry the flowers and greenery to create pressed flower art or potpourri.
For a more permanent solution, consider resin preservation methods to encapsulate your favorite blooms in a stunning display piece.
Frame repurposing ideas include converting the structure into a decorative wall hanging or garden trellis. If you’re not confident in DIY preservation, professional preservation services can expertly dry and mount your arch, ensuring it becomes a cherished keepsake that will last for years to come.
Conclusion
Your DIY floral wedding arch doesn’t have to drain your budget or cause stress. With careful planning, the right materials, and proper assembly techniques, you’ll create a stunning backdrop for your special day. Remember to test your structure’s stability, choose weather-appropriate flowers, and position the arch for ideal lighting. By following these guidelines and avoiding common pitfalls, you’ll craft a beautiful, personalized arch that perfectly frames your ceremony.